For more than 10 years I had my Fender American Standard Stratocaster SSS all stock. But I always had the urge for a fatter sound by installing humbuckers. Since I’ve been playing more actively for about a year, I finally made this modification, installing 3 splitable Humbuckers. This was my first attempt on guitar electronics which I’ll shortly describe to you here.
My goal was to keep the same possibilities as with the stock setup. That’s Master Volume and Tone plus 3 single coils selectable with a 5-way switch in the combinations: bridge, bridge + middle, middle, middle + neck, neck.
Additionally I wanted to put any wanted pickup in Humbucker mode and the combinations of bridge + neck and bridge + middle + neck.
To achieve this I had to replace the standard potentiometers with push/pull ones, to get 3 additional switches. 2 push/pulls will split one pickup and the third push/pull will turn on the neck pickup independently from the 5-way switch.
The splitting of the third pickup is done with a potentiometer functioning as a separate volume fader for the second coil. So, differing from the stock setup, I don’t get two tone potentiometers but only one.
These parts were needed:
– 2 full size splitable humbuckers (Seymour Duncan Designed for Ibanez)
– 1 single coil sized splitable humbucker (Seymour Duncan)
– 3 500k Ohm push/pull potentiometers
– 22 nF capacitor
– 5-way Fender standard switch
– HSH pick guard (plus adhesive aluminum foil for shielding)
– wire, knobs, screws etc.
– tools of course.. (soldering stuff, screwdrivers, your mere hands..)
Based on the wiring diagrams by Seymour Duncan and infos at alexplorer.net I made my own wiring diagram using Inkscape.
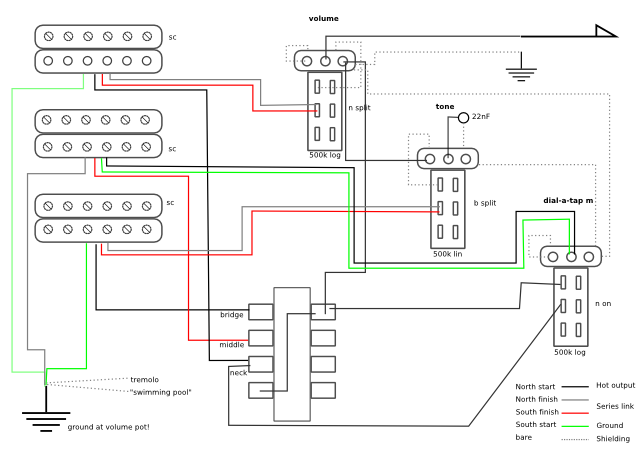
SVG versions of this diagram (humbucker wiring-concept-02.svg) and the template (humbucker wiring.svg) are also available.
The potentiometers on the diagram are not in the same order as on the pick guard, which unintentionally made my diagram a bit messy in the end. The positions 1-3 on the diagram from top to bottom correspond to 1, 3, 2 on the pickguard seen from the center to the side.
With my nearly non-existent soldering skills, inappropriate tools, tremor and sweat I built all this together in a couple of painful hours. :) Lucky for me, but maybe not that lucky for you, I didn’t document that process. But I can tell you that too long screws, non standard pickup wire colors, not exactly matching pick guards and all that stuff can be quite annoying.
Yesterday I had the chance to test the result a bit in our rehearsal room. It’s definitely a lot of fatter and not that twangy and subtle as with the stock single coils.
Downsides found so far are: One pickup is very much louder than the others. The sound of the full size humbuckers is muddy. At some point there must be a potential short circuit in my wiring, as sometimes there’s no sound.. :)
After some fiddeling around I found out that the two full size Humbuckers were connected in parallel, because their output wires aren’t insulated against the pickguard shielding touched by the pickup screws. I had to remove the pickguardshielding at these locations. Quite a surprise, but now the sound is great!
I would write a little more on how I came up with the wiring and so on, but I don’t have the time nor the intention right now. I just want to show how this setup is possible, as I found it very useful myself to surf the web for wiring diagrams and background information.
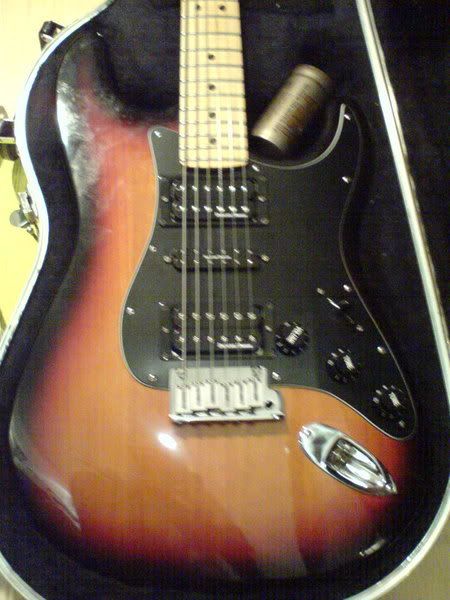
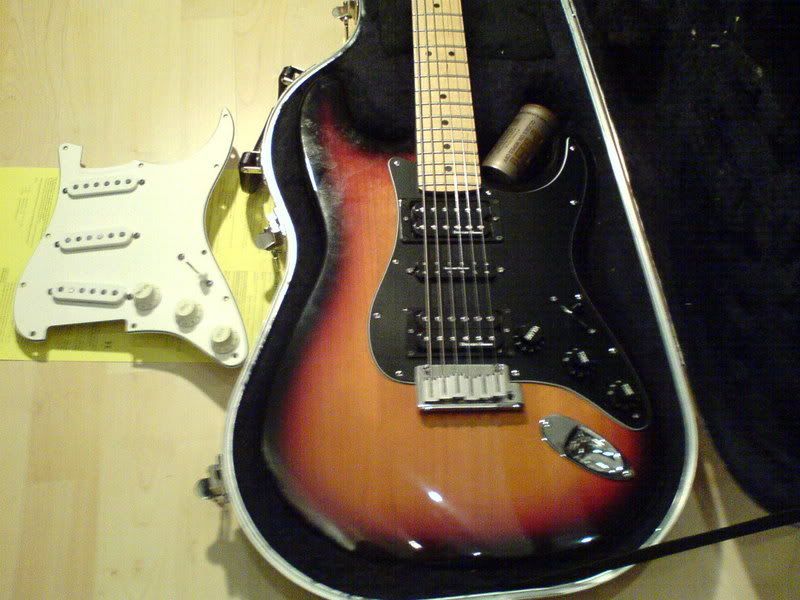
Finally some very bad photos (taken in hurry with my mobile phone) of the result. The white pick guard you see is the stock one.

ChangeLog
[2008-02-07: Fixed pickup serial connection and shielding short-circuit.]
[2009-04-26: Fix box.net links.]


Leave a comment